Why the Distinction Matters More Than You Think
To a first-time homeowner, caulk and grout can look interchangeable - both are white, both fill gaps, and both come in tubes or bags at the hardware store. But they are engineered for fundamentally different jobs, and using the wrong one in the wrong place causes real damage.
Grout is a cement-based, rigid material designed to fill the precise, consistent spaces between tiles. It bonds the tile field together and provides a cleanable, hard surface. It has essentially no flexibility. Caulk, by contrast, is a sealant - typically silicone or latex - that cures into a rubbery bead capable of stretching and compressing as surfaces move relative to each other.
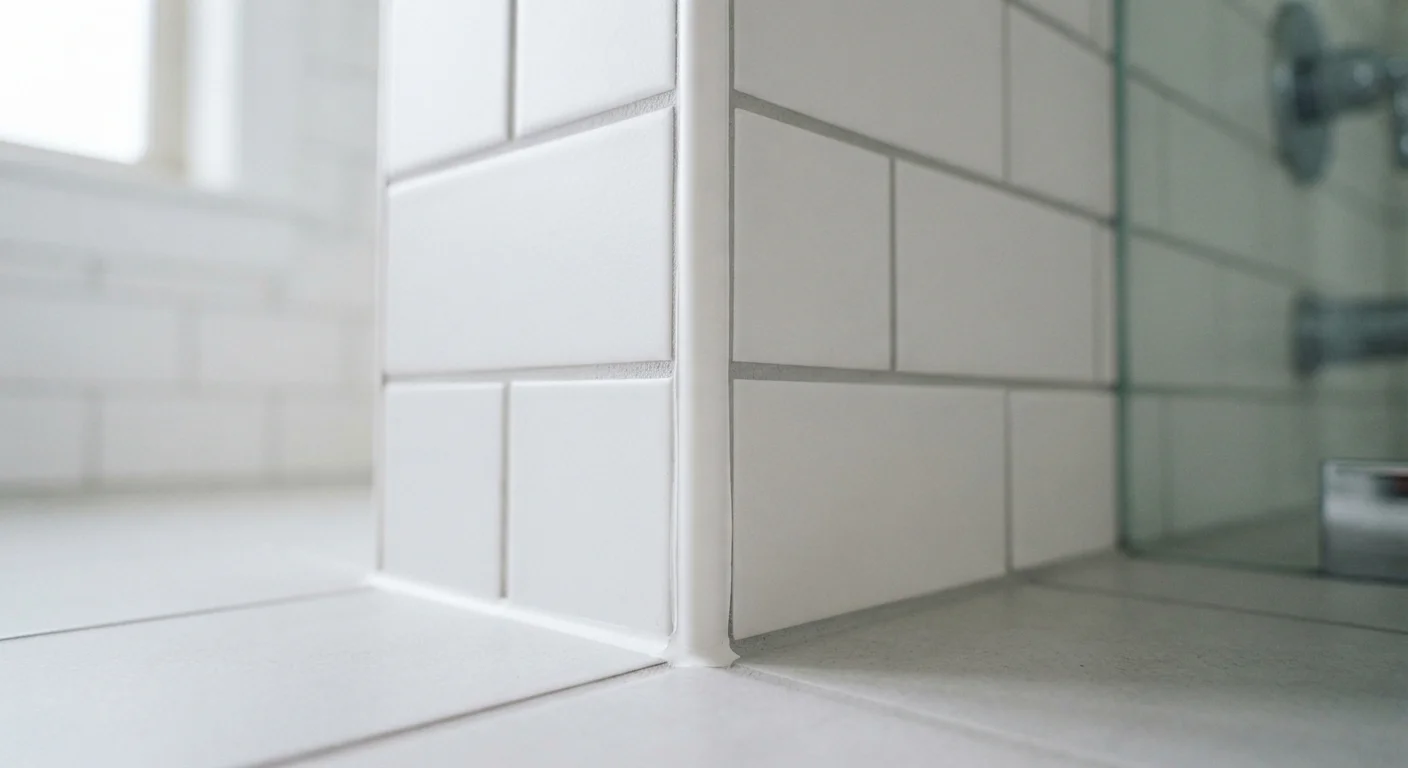
The core rule is straightforward: grout fills tile-to-tile joints; caulk seals joints where two different materials or planes meet. Every corner in a tiled shower, every seam between a countertop and a backsplash, and every transition between tile and wood flooring qualifies as a caulk joint - not a grout joint.
| Criterion | Caulk | Grout |
|---|---|---|
| Primary purpose | Seals joints between different surfaces | Fills spaces between tiles |
| Flexibility | High - stretches and compresses | None - rigid when cured |
| Best locations | Corners, transitions, tub seams | Tile fields, flat or low-flex surfaces |
| Water resistance | Excellent (silicone); moderate (latex) | Good; improved with sealer |
| Typical lifespan | 5-10 years before reapplication | 10-20+ years with sealing |
| DIY difficulty | Moderate - technique-sensitive | Moderate - timing-sensitive |
| Paintable | Latex yes; silicone no | Yes, once fully cured |
Choosing the Right Type of Each Product
Not all caulk and not all grout are created equal. Matching the product sub-type to your specific application is the second layer of decision-making.
Caulk types
- Silicone caulk: 100% waterproof, highly flexible, and ideal for tub surrounds, showers, and any persistently wet area. It doesn't accept paint and is harder to tool, but it outlasts latex in moisture-heavy zones.
- Latex (acrylic) caulk: Easier to apply and clean up with water, paintable, and well-suited for drier interior joints like baseboards, window trim, and door frames.
- Siliconized latex: A middle-ground hybrid that is paintable but more moisture-resistant than pure latex - a useful choice for kitchen backsplashes.
Grout types
- Unsanded grout: For joints 1/8 inch wide or narrower. Commonly used on wall tiles and polished stone where sanded particles could scratch.
- Sanded grout: For joints wider than 1/8 inch. The sand adds body and reduces shrinkage cracking on floor tiles and larger-format installations.
- Epoxy grout: Highly stain- and chemical-resistant. A strong choice for kitchen floors and commercial-style applications, though more difficult to work with.
Color-Matching Caulk to Grout
When selecting caulk color for corners in a tiled area, bring a grout sample or chip to the store. Many caulk manufacturers produce shades specifically formulated to match standard grout colors. A close color match at a caulk joint blends the transition seamlessly rather than highlighting it as a repair. Test a small amount on a scrap surface before committing to a full bead - caulk colors can shift slightly as they cure.
When selecting caulk color for corners in a tiled area, bring a grout sample or chip to the store. Many caulk manufacturers produce shades specifically formulated to match standard grout colors - a subtle detail that makes a significant visual difference.
Application Basics: What Good Prep Looks Like
Regardless of which product you're applying, surface preparation determines whether it lasts two years or ten. Both caulk and grout fail prematurely when applied over contaminated, damp, or unstable surfaces.
Before applying caulk
- Remove all old caulk with a plastic scraper or dedicated caulk remover tool. Do not layer new caulk over old - adhesion will fail.
- Clean the joint with rubbing alcohol or a diluted bleach solution to eliminate mold, soap residue, and oils. Allow to dry completely - silicone in particular will not bond to damp surfaces.
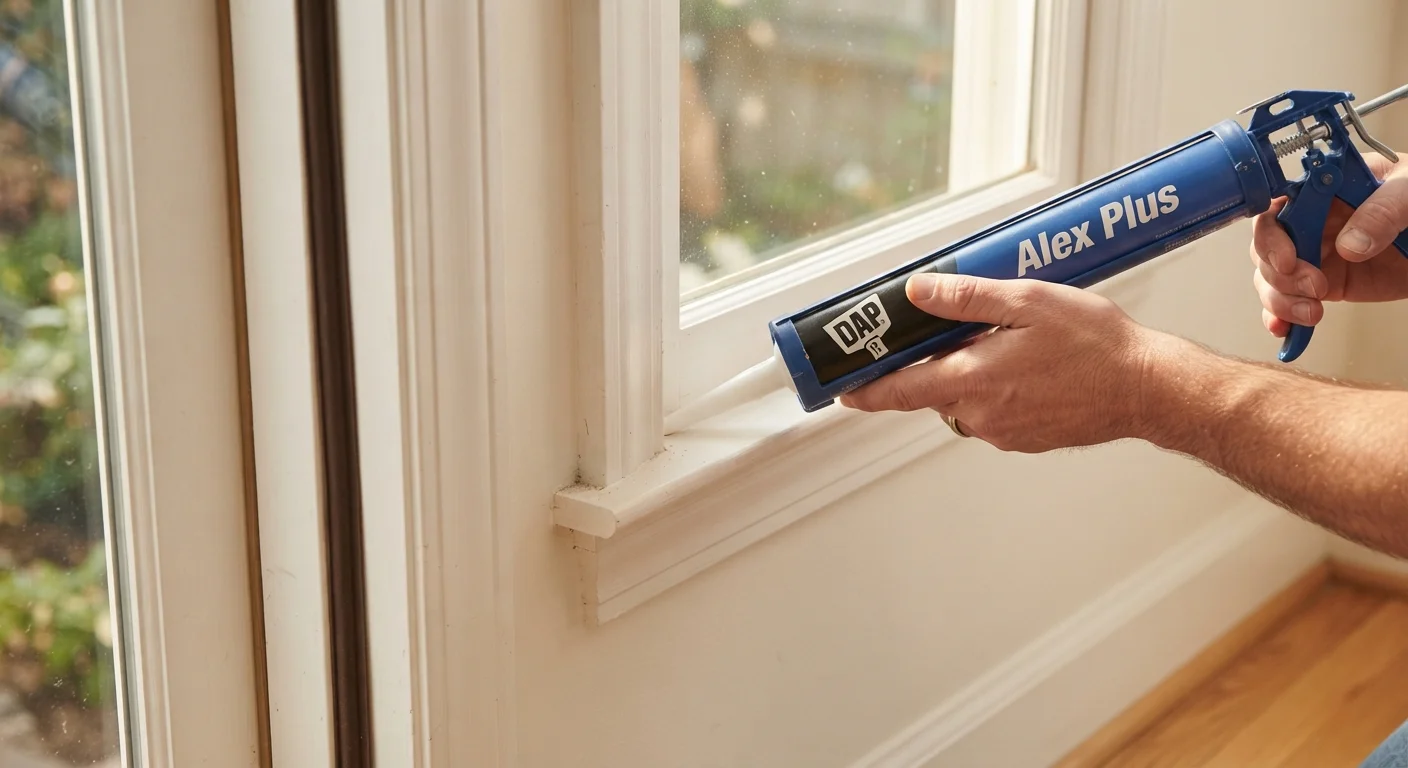
- Apply painter's tape along both edges of the joint for a clean line, load the caulk gun, cut the tip at a 45-degree angle, and draw a steady, even bead. Smooth with a dampened finger or caulk tool within a few minutes.
Before applying grout
- Ensure all tile adhesive has cured fully - check the mortar manufacturer's guidance, but 24 hours is a common minimum before grouting.
- Remove any spacers and vacuum or brush out loose debris from the joints.
- Mix grout to a peanut-butter consistency (for sanded) or smooth paste (for unsanded), apply diagonally across the tile face with a rubber float, and press firmly into joints.
- Wipe away excess with a damp sponge in circular motions, rinse frequently, and allow the haze to dry before a final buff with a clean cloth.
Maintaining your home's seals is part of a broader weatherproofing routine - if exterior sealing is also on your list, our guide on sealing gaps with caulk or weatherstripping covers the outside of your home in detail.
When to Call a Professional
Replacing a caulk bead or regrouting a small section of tile is well within a careful DIYer's reach. But some situations warrant a licensed contractor or tile installer.
If you notice grout cracking repeatedly in the same location, the underlying substrate - the backer board or subfloor - may be flexing, water-damaged, or improperly installed. Addressing only the surface grout without diagnosing the substrate will produce the same failure within months. Similarly, if existing tiles are loose or hollow-sounding when tapped, the bond between tile and mortar has failed, and re-grouting alone will not fix it.
Widespread mold behind caulk or discoloration that persists after cleaning can signal water intrusion into the wall cavity - a situation that may involve drywall or structural framing and warrants professional assessment before re-sealing.
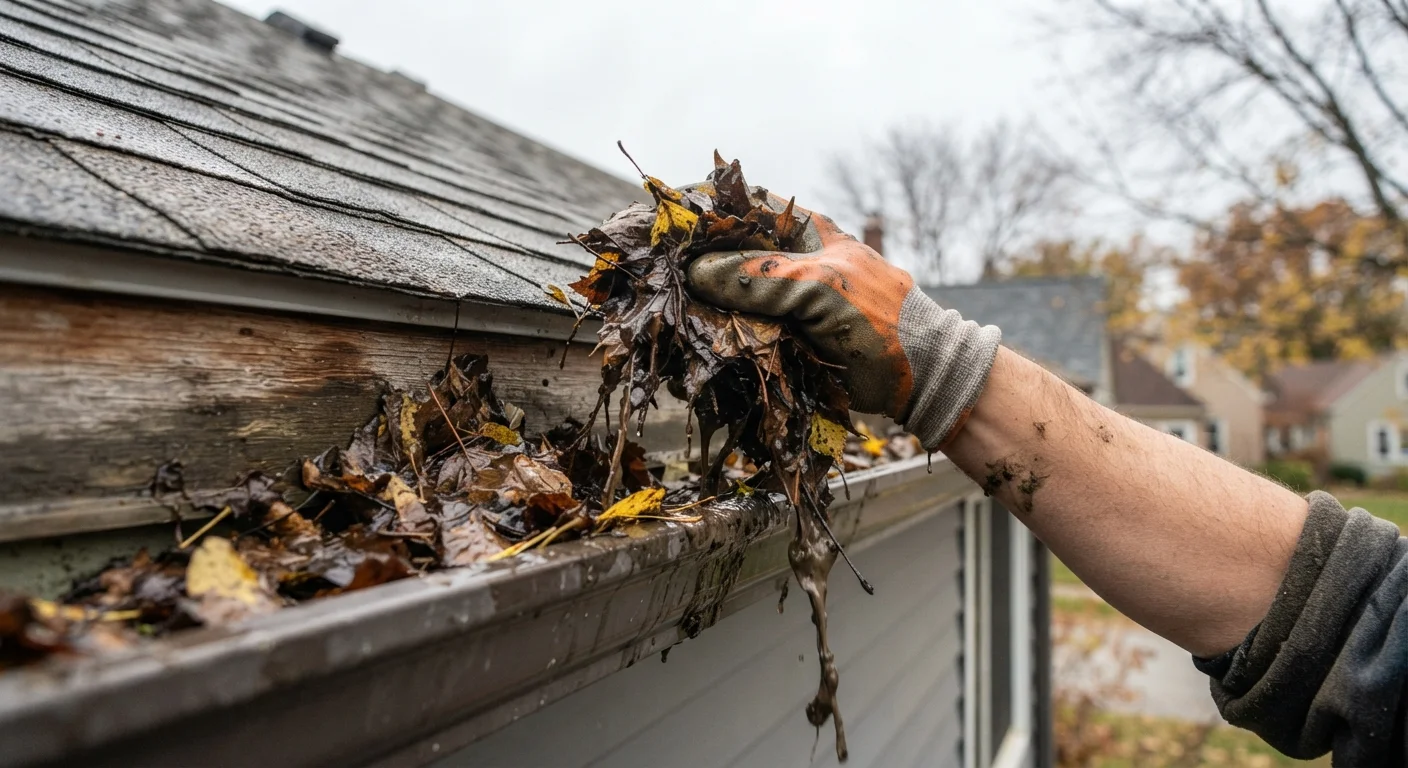
For exterior maintenance tasks that intersect with your sealing work - like checking that water is properly diverted away from your home's foundation - see our guide on gutter inspection and cleaning, which also walks through when a pro makes more sense than DIY.