Why Gutters Matter More Than Most New Homeowners Realize
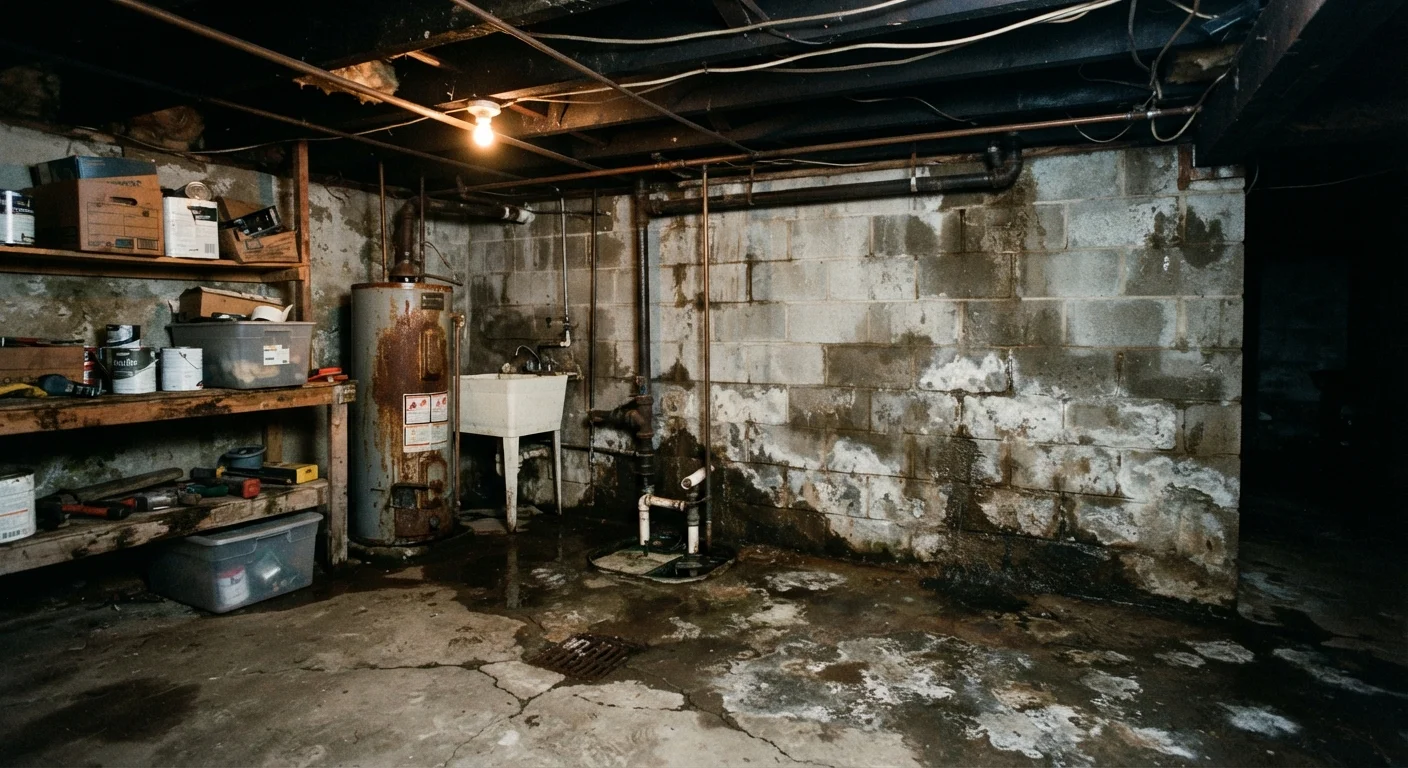
Gutters have one job: channel rainwater and snowmelt away from your home's structure. When they're clogged or damaged, that water has to go somewhere - and it typically finds its way into places you don't want it. Common consequences include rotted fascia boards (the trim your gutters attach to), eroded soil around the foundation, and water infiltration into the basement or crawl space.
These aren't small problems. Foundation repairs and basement waterproofing are among the most expensive remediation projects a homeowner can face. Gutter maintenance, by contrast, costs relatively little in time and basic supplies. It's one of the tasks that first-time homeowners most commonly delay - often because gutters are easy to ignore until something goes visibly wrong.
Aim to clean gutters at least twice a year: once in late spring after tree seeds and pollen have fallen, and once in late fall after the last leaves drop. Homes surrounded by many trees may need a third cleaning in midsummer.
Overflowing Gutters Signal Bigger Problems
Water spilling over the front edge of a gutter during rain doesn't always mean the gutter is clogged - it can also mean the gutter is pitched incorrectly or has settled over time. Left unaddressed, this misdirected water can erode soil next to your foundation, contributing to the basement moisture issues that are far more expensive to remediate than a gutter adjustment.
What You'll Need Before You Start
Gutter cleaning doesn't require specialized equipment, but having the right basic tools makes the job safer and more thorough. Review the list below before your first session - improvising with the wrong gear at height is where accidents happen.
Extension ladder (fiberglass preferred)
Provides safe, stable access to gutter height on a single- or two-story home.
Heavy-duty rubber gloves
Protects hands from sharp gutter edges, decomposing debris, and bacteria.
Plastic gutter scoop or trowel
Removes compacted leaf and debris buildup without scratching gutter surfaces.
Garden hose with spray nozzle
Flushes remaining debris toward the downspout and tests water flow.
Bucket or tarp
Catches debris so it doesn't pile up on landscaping or walkways below.
Gutter sealant (gutter-rated caulk)
Seals minor joint leaks or small cracks discovered during inspection.
Plumber's snake or downspout auger
Clears stubborn blockages deep inside a downspout that a hose cannot dislodge.
What you will need
Never Work on a Wet or Unstable Ladder
Falls from ladders are among the most common causes of serious home-maintenance injuries. Always set your ladder on firm, level ground, have a second person present to stabilize it, and never lean out past your body's centerline. If your roofline is higher than a single story or the pitch makes ladder placement awkward, hire a licensed gutter professional instead.
Step-by-Step: Cleaning and Inspecting Your Gutters
Do a ground-level inspection first
Before touching a ladder, walk the perimeter of your home and look at the gutters from below. Note any sections that appear to sag, pull away from the fascia board, or show rust staining on the siding. Check where downspouts terminate - splash blocks should direct water at least 4-6 feet away from the foundation. This initial pass tells you where to focus your effort and whether anything requires a contractor rather than a DIY fix.
Set up your ladder safely
Position the ladder on firm, level ground and lean it against a solid section of the gutter or fascia - never against a downspout. Keep a three-point contact (two hands and one foot, or two feet and one hand) as you climb. Move the ladder frequently rather than leaning sideways to reach farther sections. Have your helper on the ground throughout.
Remove debris by hand or scoop
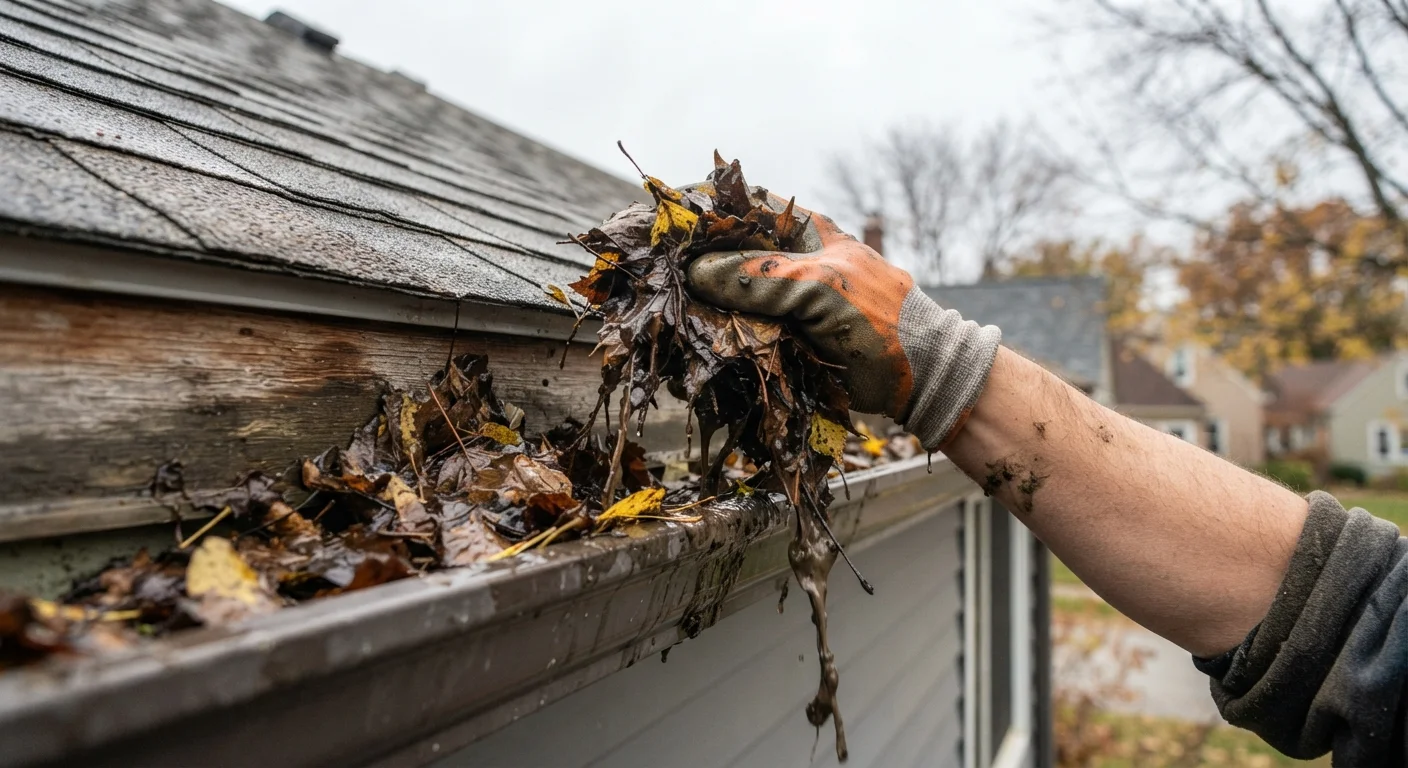
Starting at the end opposite the downspout, use a plastic scoop or gloved hands to remove leaves, seed pods, and compacted debris. Place material into a bucket rather than dropping it - debris on landscaping can introduce weed seeds and create cleanup work below. Work toward the downspout opening so loosened material is pushed, not packed deeper.
Flush with a garden hose
Once the bulk of debris is out, run water from the end opposite the downspout toward the outlet. Watch that it flows steadily and exits cleanly at the bottom of the downspout. Slow draining usually means a partial clog in the downspout itself. If the hose doesn't clear it, use a plumber's snake inserted from the top.
Inspect gutters and joints up close
With the gutters flushed and visible, look for: cracks or holes in the channel, separated or leaking joints between sections, rust spots, and loose or missing gutter spikes or screws (called hangers). Minor joint gaps can be sealed with a gutter-rated sealant; loose hangers can often be re-secured with longer gutter screws. For anything beyond that - significant rust, crushed sections, or gutters pulling completely away from the fascia - note it for professional assessment.
Check the roof edge and soffit while you're up there
While at gutter height, briefly examine the lower few inches of roof shingles for curling, missing granules, or lifted edges - signs that water may already be working under the roofline. Also look at the soffit (the underside of the roof overhang) for staining, soft spots, or paint peeling, which can indicate trapped moisture. You don't need to climb onto the roof; a close look from the ladder is sufficient. For a more complete review, see our guide on what you can safely check from the ground.
Pair Gutter Cleaning with Your Quarterly Checklist
Gutter maintenance fits naturally into a broader seasonal routine. Our seasonal home maintenance guide walks through everything else worth checking at the same time, so one trip up the ladder covers multiple tasks.
When to Call a Professional Instead
DIY gutter cleaning is well within reach for most single-story and some two-story homes, but there are situations where a licensed professional is the right call - not a sign of defeat.
- Rooflines above two stories: Ladder risks increase significantly with height. Professionals have the equipment and training for these situations.
- Gutters pulling away from the house: If fascia boards are rotted or the structural attachment is compromised, this is a carpentry repair, not just a cleaning job.
- Standing water that persists after flushing: This may indicate an incorrect pitch that requires re-hanging sections of gutter.
- Visible rust, large holes, or crushed sections: Patching has limits; some sections need full replacement.
- You're not comfortable at height: This is a completely valid reason. Gutter services are widely available and reasonably priced compared to an ER visit.
When hiring a contractor, ask whether they also inspect downspout connections and whether the work carries any warranty. Good gutter work should also address how water exits at grade - splash blocks, extensions, or connections to a drainage system - which ties directly into preventing the basement moisture problems that follow from poorly managed runoff.