Understanding Drywall Damage and What to Expect
Drywall - the gypsum board that lines virtually every interior wall in American homes - is durable enough for daily life but vulnerable to doorknob impacts, furniture moves, and the accumulated evidence of hanging art. The good news: almost any hole smaller than 6 inches is a realistic weekend repair for a homeowner with basic tools and patience.
What makes drywall patching approachable is that the materials are forgiving. Joint compound (sometimes called mud) can be applied, sanded, and re-applied without penalty. The process is more about technique and timing than raw skill. The most common mistake first-timers make isn't the application - it's rushing the drying time between coats and skipping primer before paint.
Check for Pipes and Wiring First
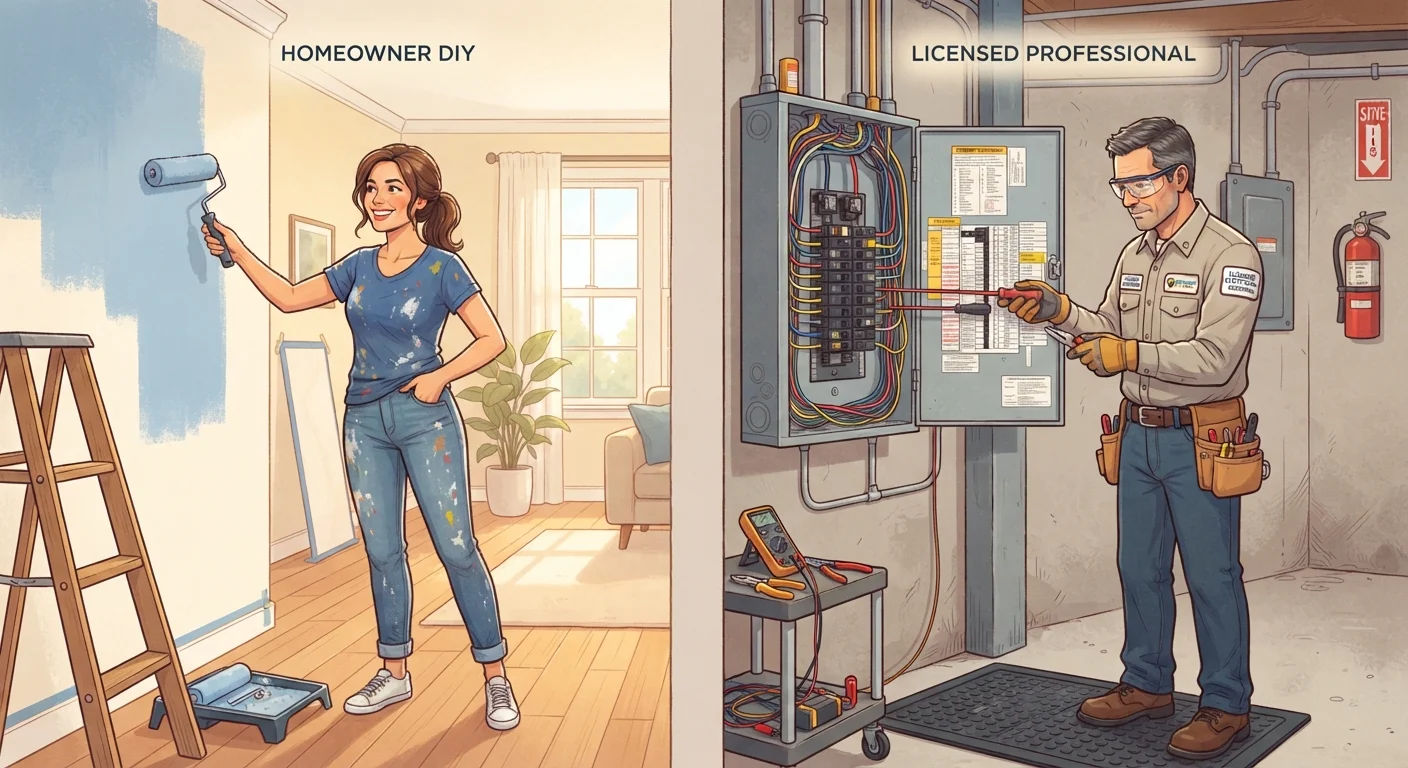
Before cutting into any wall, use a stud finder with wire and pipe detection mode to scan the area. Cutting blindly risks hitting electrical wiring or plumbing - both of which require a licensed professional to repair. If you're uncertain about what's inside the wall, consult a qualified contractor before proceeding.
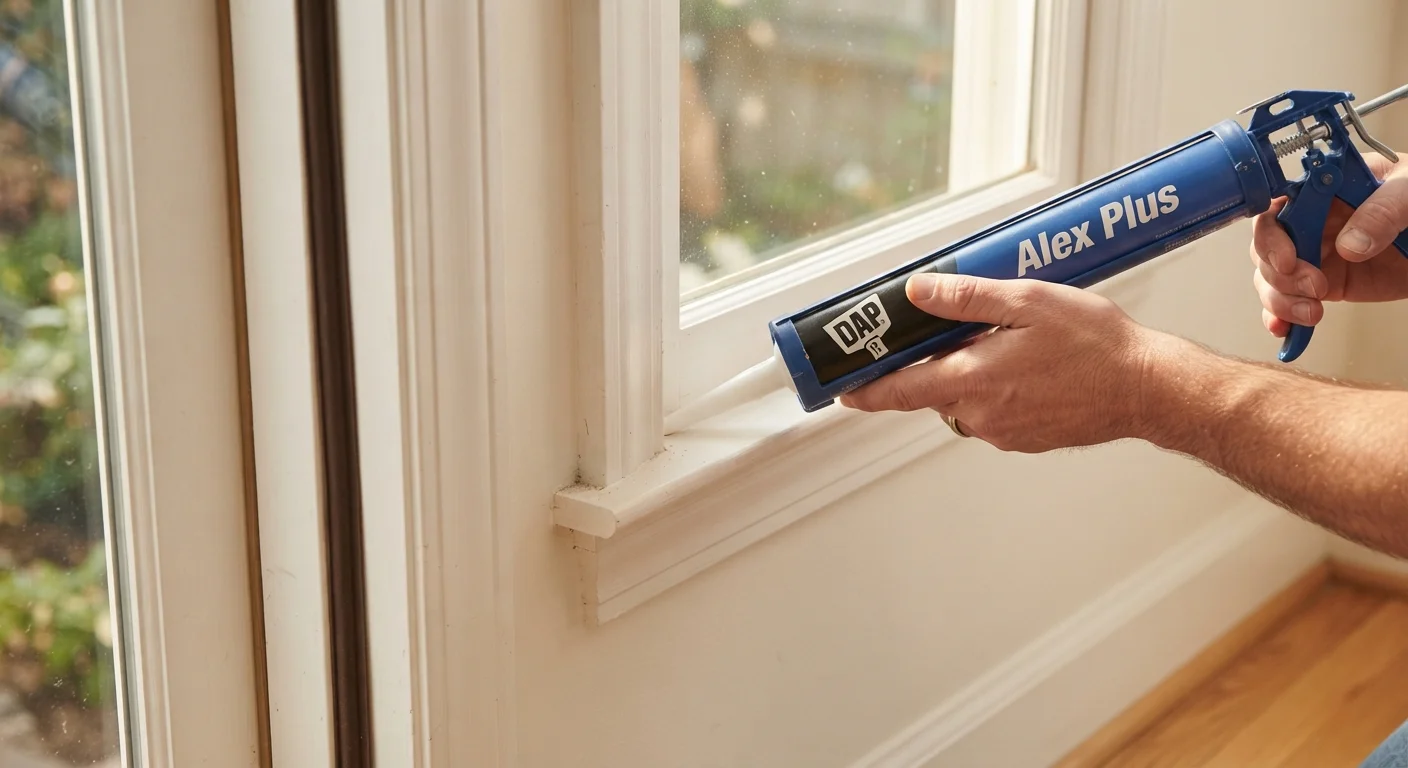
If your wall damage includes signs of water intrusion - staining, soft spots, or mold - address the moisture source before patching. Sealing over active water damage will only delay a larger repair. For guidance on related sealing tasks around your home, see our guide to caulk vs. weatherstripping.
Tools and Materials You'll Need
Having the right tools assembled before you start prevents mid-repair trips to the hardware store. Here's what to gather based on the size of repair you're tackling:
Putty knife (4-inch)
Applies and smooths joint compound into small holes and cracks.
Drywall knife (6- to 8-inch)
Spreads compound in wide, feathered strokes for medium and large patches.
Self-adhesive mesh patch
Provides a rigid backing for medium-sized holes (1-4 inches) without cutting new drywall.
Drywall saw or utility knife
Cuts out damaged drywall cleanly for larger repairs requiring a replacement panel.
Stud finder
Locates framing studs and detects hidden wiring or pipes before cutting.
Sandpaper (120- and 220-grit)
Smooths dried compound between coats and provides a final paint-ready surface.
Primer
Seals the patched area so paint absorbs evenly and doesn't appear blotchy.
Setting-type compound (powder form)
Optional fast-setting compound for filling deep voids quickly before finish coats.
What you will need
Joint compound comes in two main forms: pre-mixed (ready to use, slower drying, great for finish coats) and setting-type (powder mixed with water, hardens chemically in 20-90 minutes, ideal for deep fills). For most small-to-medium repairs, pre-mixed all-purpose compound is the practical choice. Not sure whether your repair falls within a comfortable DIY scope? Our DIY vs. licensed contractor guide helps clarify that boundary.
Step-by-Step Repair Instructions
Follow these steps in order, matching the approach to your hole size as noted in Step 1. Don't skip steps - each one builds on the last.
Assess the damage and choose your method
Hole size determines your repair strategy. Use this guide:
- Nail holes and small dings (under ½ inch): Spackle or pre-mixed joint compound applied directly with a putty knife.
- Medium holes (½ inch to 4 inches): Self-adhesive mesh patch backed with joint compound.
- Large holes (4 to 6+ inches): California patch method or a backing-board insert with a cut drywall piece.
Inspect the edges of the damage. If the surrounding drywall feels soft or crumbles easily, cut back to solid material before patching.
Prepare the damaged area
Use a utility knife to trim any loose paper or jagged gypsum edges until you have a clean, stable border. For larger holes, cut a square or rectangle around the damage using a drywall saw - straight edges make fitting a patch piece far easier. Vacuum or wipe away all dust and debris before applying any compound.
Apply your backing (medium and large holes only)
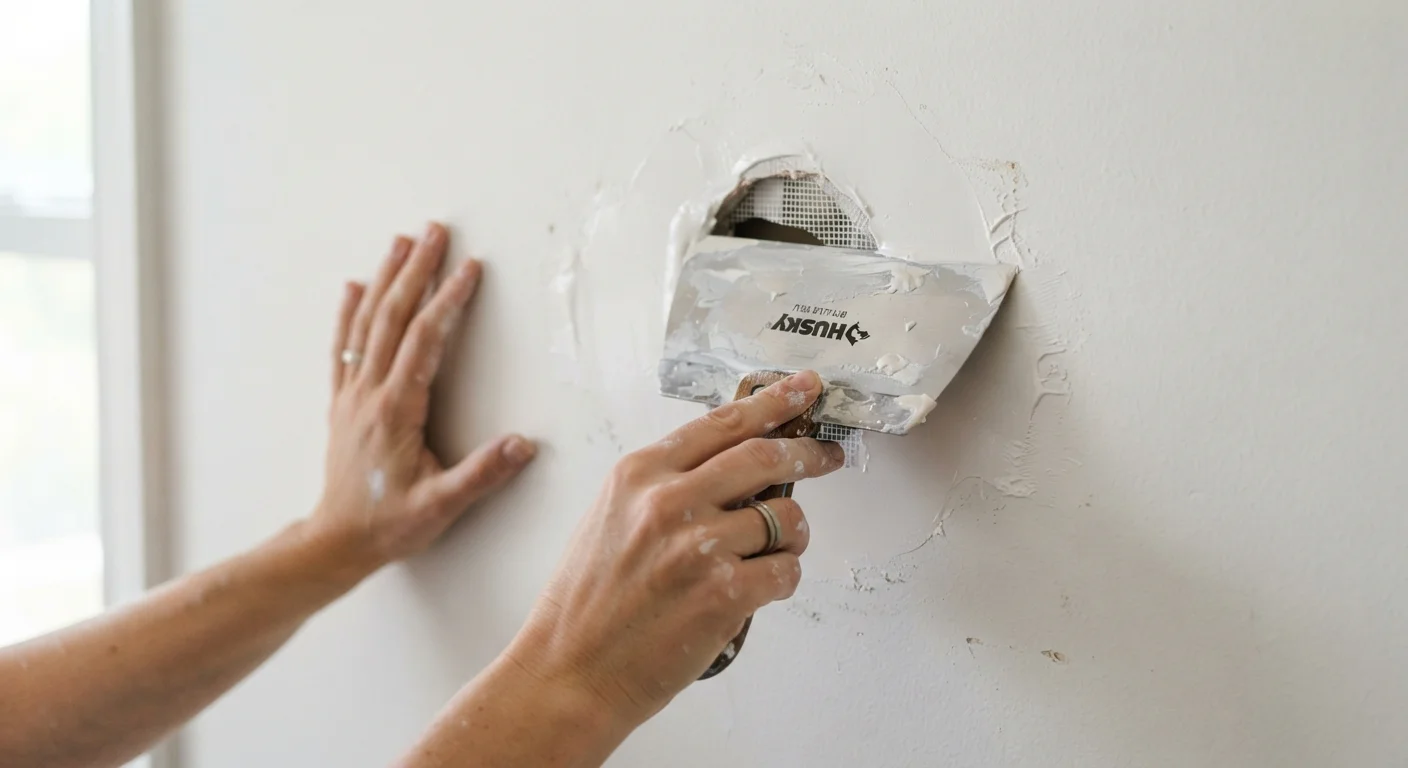
For medium holes, press a self-adhesive mesh patch firmly over the opening, centered on the damage. Smooth all edges down so no corners are lifting.
For large holes, cut a piece of new drywall slightly smaller than your opening and secure it to wood backing boards (1×3 or 1×4 lumber) screwed into the existing wall on both sides of the hole. Drive drywall screws flush - slightly recessed, but not breaking the paper face.
Apply the first coat of joint compound
Load your putty or drywall knife with pre-mixed joint compound and spread it across the patch using smooth, overlapping strokes. Press firmly into mesh or seams to fill any voids. Feather the compound outward 2-3 inches beyond the patch edge so it blends gradually into the surrounding wall. Keep this coat thin - its job is adhesion, not fill.
Sand, then apply additional coats
Once the first coat is fully dry (completely white, not gray), lightly sand with 120-grit sandpaper using circular motions. Wipe away all dust with a lightly dampened cloth. Apply a second coat, feathering even wider than the first. Most repairs need two to three coats total. The final coat should be thin and smooth - focus on eliminating ridges and trowel marks. Finish with 220-grit sandpaper for a near-glass-smooth surface.
Prime and paint the patch
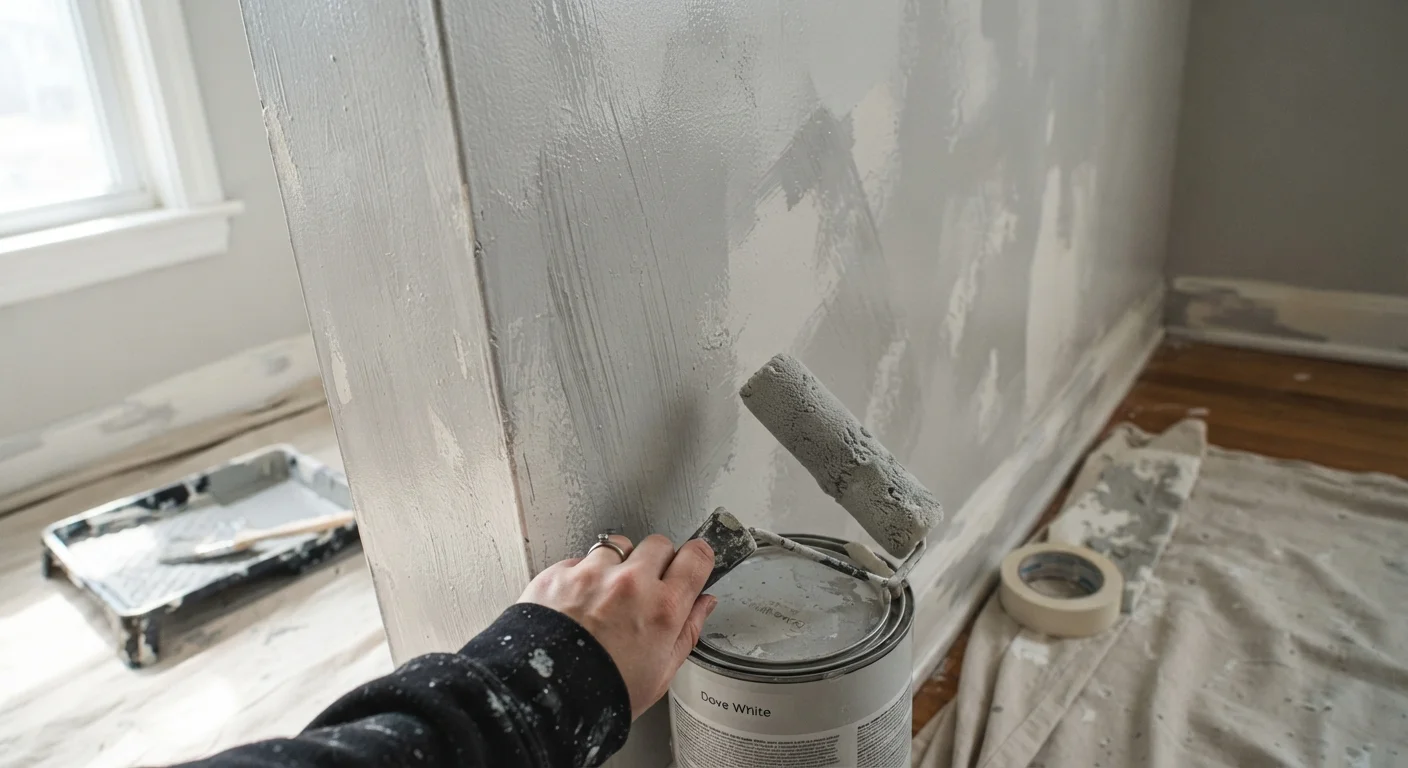
Apply a coat of drywall primer (PVA primer is widely recommended for this purpose) to the repaired area before painting. Bare joint compound is porous and will absorb paint unevenly, creating a visible dull spot even if the texture matches perfectly. Allow primer to dry fully per the manufacturer's directions, then paint to match the surrounding wall. For the smoothest color match, plan to paint the entire wall panel rather than just the patch. See why freshly painted walls still look patchy for tips on avoiding common finishing frustrations.
Matching Wall Texture Takes Practice
If your walls have a knockdown or orange-peel texture, test your application technique on a scrap piece of cardboard before touching the wall. A slightly dampened sponge, a roller with a thick nap, or aerosol texture spray can all replicate common textures - but each tool produces a different result. Match the existing pattern before committing.
Getting a Seamless Finish
A patch that's structurally sound but visually obvious defeats the purpose. The finishing phase - the final sanding pass, texture matching, priming, and painting - is where patience pays off most.
Don't Skip the Drying Time
Joint compound that looks dry on the surface may still be wet underneath. Applying a second coat too soon traps moisture, which causes shrinkage cracks as it finally dries. Always wait until the compound has turned fully white (not gray) before sanding or adding another coat - typically 24 hours per coat in normal indoor conditions.
If your walls have a pronounced texture like knockdown or orange peel, replicating that texture on the patch before priming is essential. A smooth patch surrounded by textured wall will catch light differently and remain noticeable. Test any texture technique on a scrap surface first, and let it dry completely before evaluating the match - wet compound looks different than dry.
For a truly invisible repair, plan to repaint the full wall section rather than just feathering paint over the patch. Even a perfect color match tends to show a sheen difference on spot-painted areas, especially in rooms with directional lighting.