Why Patchiness Happens in the First Place
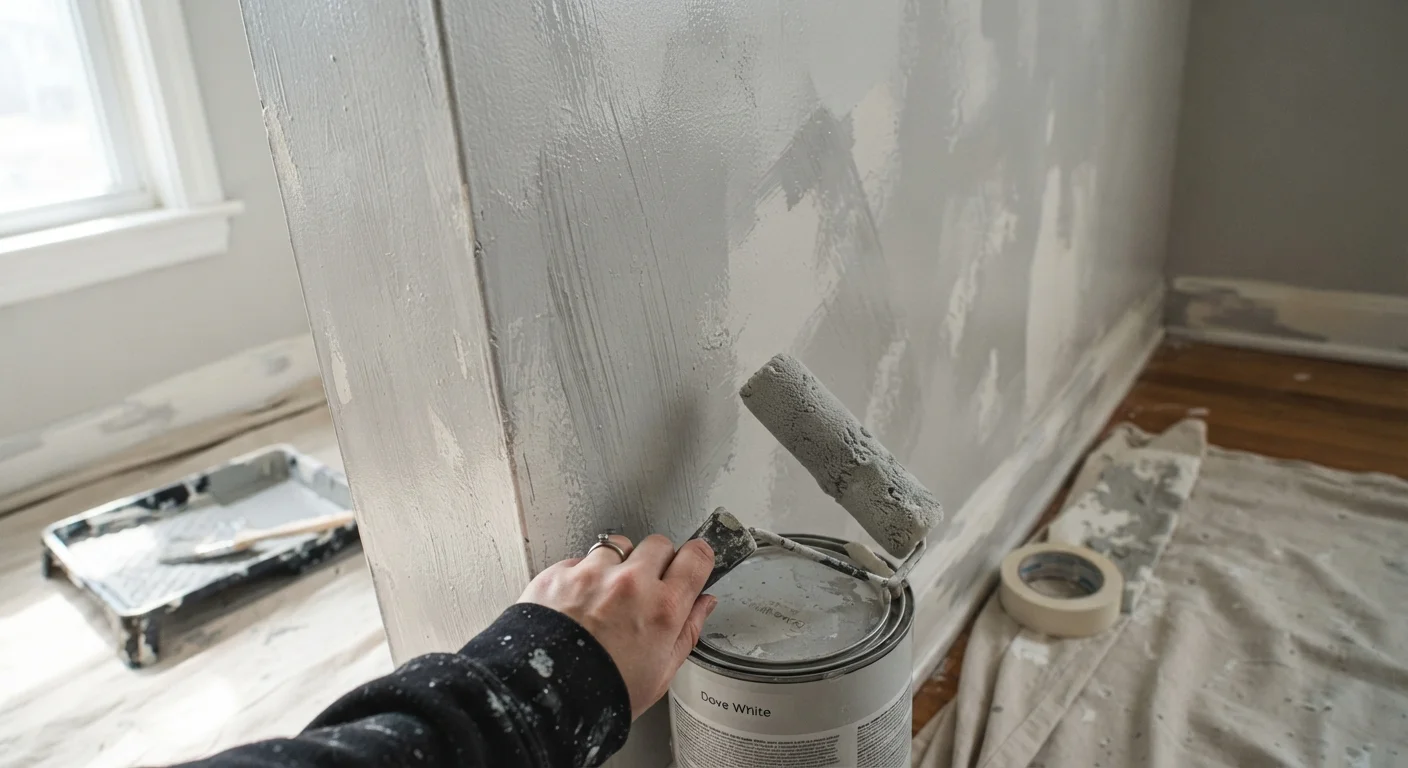
A patchy wall after painting isn't bad luck - it's feedback. The wall is telling you something went wrong during prep or application, and once you understand what, the fix becomes straightforward. Paint looks uneven when it absorbs differently across the surface, when coats dry at different rates, or when the tool applying it isn't distributing it consistently.
The root causes almost always fall into one of three categories: inadequate surface preparation, improper application technique, or the wrong materials for the job. The good news is that all three are entirely within your control before you open the can.
Primer Is Not Optional on New Drywall
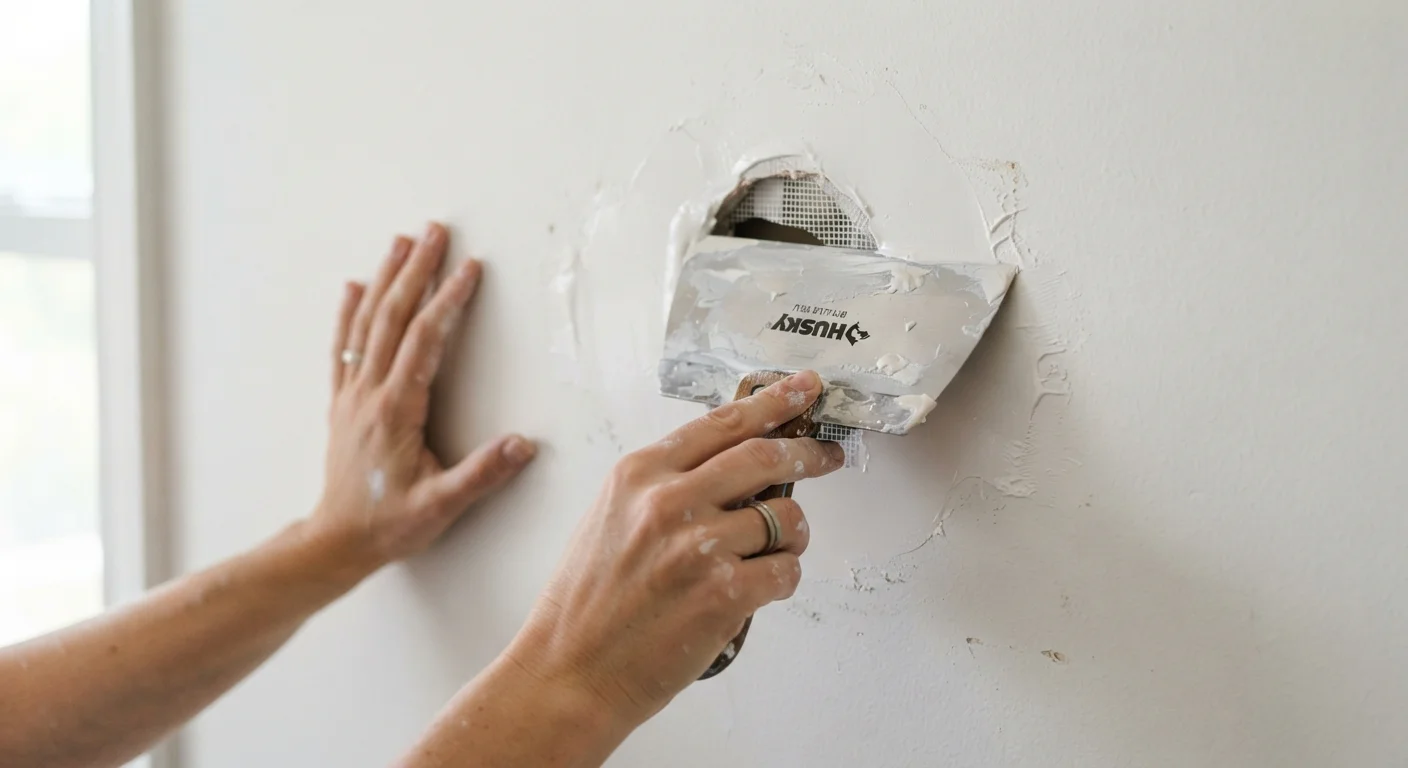
Bare or newly patched drywall is extremely porous and will absorb paint unevenly no matter how many coats you apply. Applying paint directly to unprimed drywall almost guarantees a blotchy finish. Always prime first - this is not a step you can skip to save time and still expect professional-looking results.
The Most Common Mistakes - and How to Fix Them
The mistakes below account for the overwhelming majority of patchy results in DIY interior painting. Each one is correctable, and most are preventable with a simple adjustment to your process before you start.
Skipping primer before painting, especially on patched or bare drywall.
Why it happens: Primer feels like an extra step that costs time and money, so many first-time painters jump straight to color. It seems redundant when the finish paint is described as "paint and primer in one."
Applying paint in a single heavy coat instead of two thinner ones.
Why it happens: It feels efficient to load the roller and lay on a thick coat, hoping one pass will do the job. The color looks solid when wet, so it seems like it should be enough.
Using a roller nap that doesn't match the wall texture.
Why it happens: Most people grab whatever roller is available without realizing nap thickness matters. A roller meant for smooth surfaces used on textured walls - or vice versa - simply can't distribute paint evenly.
Painting in inconsistent lighting and not catching thin spots in real time.
Why it happens: Overhead lighting doesn't reveal thin or missed areas the same way raking light does. Painters move quickly through sections without stepping back to check coverage.
Not maintaining a wet edge while rolling, creating lap marks.
Why it happens: Painters often work in sections and let edges dry before overlapping the next pass. When fresh paint meets a dried edge, it creates a visible ridge or darker line.
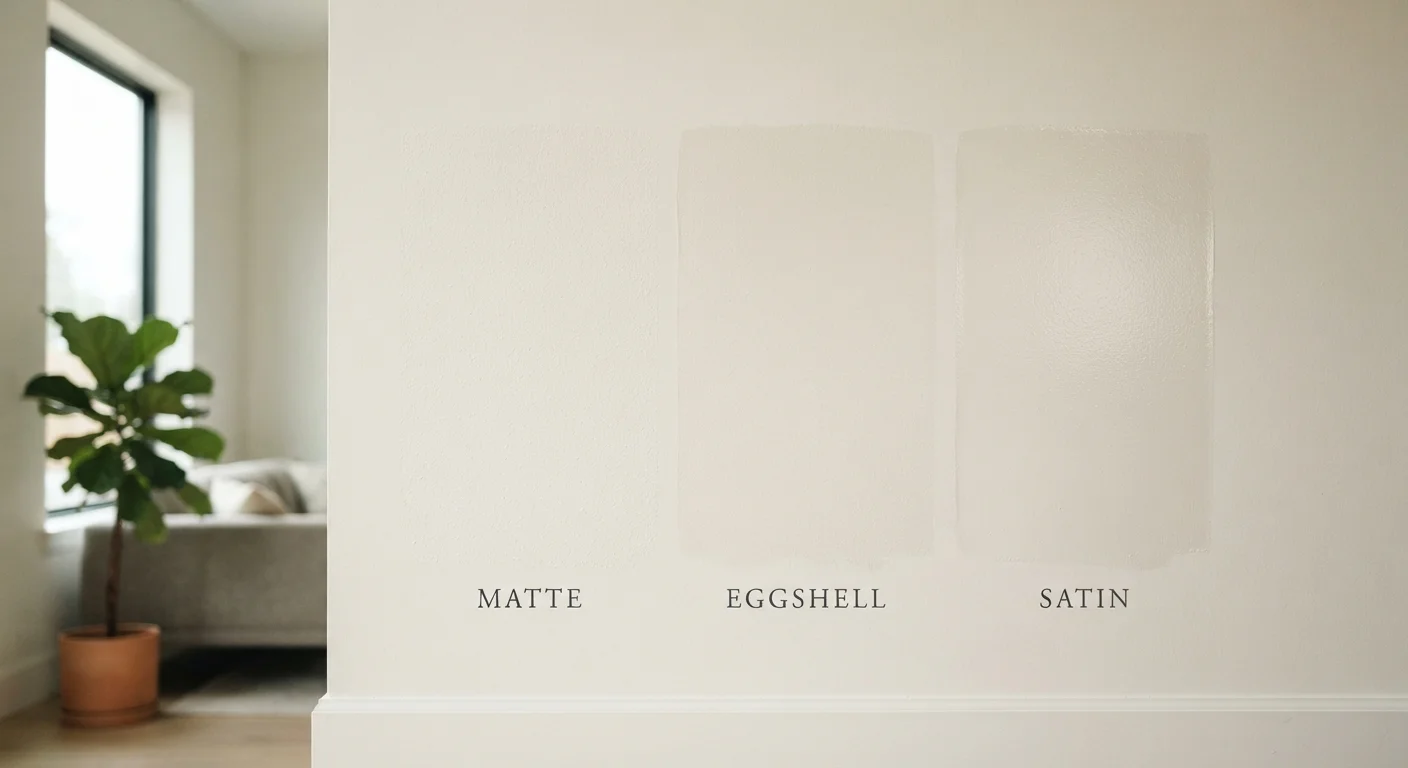
Ignoring sheen selection, which amplifies every surface flaw.
Why it happens: Many homeowners choose paint color carefully but treat sheen as an afterthought. Higher-gloss finishes reflect more light, which makes surface imperfections and uneven application far more visible.
2-3 coats
Coats typically needed for even coverage
Most paint manufacturers recommend at least two finish coats over properly primed surfaces for consistent, durable results.
30-60 min
Minimum dry time between coats
Applying a second coat before the first has fully dried is a leading cause of roller marks, lifting, and uneven sheen - always check the label.
Getting a Consistent Finish: The Process That Actually Works
Consistent results come from a repeatable process, not luck or expensive paint. Start by cleaning walls thoroughly - grease and dust are invisible enemies of adhesion.
Don't Paint Over a Dirty or Greasy Wall
Grease, dust, and soap residue create a barrier that prevents paint from bonding evenly to the surface. Even in low-traffic rooms, walls collect airborne particles over time. Wipe walls down with a damp cloth or a diluted trisodium phosphate (TSP) solution and let them fully dry before painting - paint applied to a contaminated surface will peel and look uneven within months.
Once the surface is clean and dry, address any holes or imperfections before priming. Even small nail holes or scuffs catch light differently than the surrounding wall and show through paint. After priming and allowing full dry time, apply your finish coats in thin, overlapping passes, maintaining a wet edge throughout. Step back frequently and use a raking light to check your work in real time.
Patchiness fixed after the fact usually requires sanding lightly with 220-grit sandpaper, spot-priming any problem areas, and recoating - which is more work than getting it right the first time. The most reliable approach is patience: let each coat dry completely, assess in good light, and apply another coat if needed rather than trying to compensate by loading more paint onto a wet surface.