Planning Your Backsplash: Layout, Tile Choice, and Measurements
A backsplash project rewards planning far more than speed. Before you buy a single tile, measure the total square footage of your installation area - typically the wall space between the countertop and upper cabinets. Multiply width by height for each section, add the totals together, then tack on 10-15% for cuts and breakage. Order that buffer amount; running out mid-job and facing a discontinued tile is a headache worth avoiding.
Choose your tile format based on the wall's proportions and your confidence with a tile saw. Large-format tiles (12×24 inches, for example) cover area quickly but demand very flat surfaces and precise cuts at outlets. Classic subway tile (3×6 inches) is forgiving, widely available, and a reliable first-timer choice. Mosaic sheets on mesh backing are also beginner-friendly because the sheet handles most of the spacing for you.
Before opening any thinset, do a dry layout on the countertop. Arrange tiles in the pattern you plan to use and identify where cuts will land - ideally at the edges rather than at focal points like the stove center. Centering the layout on the most visible wall section usually produces the most polished result. See our guide to budgeting for home projects to plan material costs alongside the rest of your homeowner expenses.
Thinset mortar
A cement-based adhesive mixed with water (and sometimes polymer additives) that bonds tile to a wall or floor surface.
Notched trowel
A spreading tool with V- or square-shaped teeth that creates uniform ridges in mortar, ensuring full, even contact behind each tile.
Field tile
The full, uncut tiles that fill the main body of the installation - as opposed to the partial tiles cut to fit edges and corners.
Grout float
A flat, rubber-faced hand tool used to press grout into tile joints and skim away the excess from the tile surface.
Back-buttering
Applying a thin coat of mortar to the back of a tile before pressing it onto the wall, which improves adhesion and reduces hollow spots.
Penetrating grout sealer
A liquid applied to finished grout that soaks into the pores of cement-based grout to resist moisture and staining.
Tools and Materials You'll Need
Gathering everything before day one keeps the project moving without mid-install hardware runs. Here's what a typical backsplash install requires:
- Tile (plus 10-15% overage)
- Polymer-modified thinset mortar - the bonding agent between tile and wall
- Notched trowel - the V-notch or square-notch size should match your tile size (check the mortar packaging)
- Tile spacers - typically 1/16 or 1/8 inch for a kitchen backsplash
- Tile cutter or wet saw - a manual snap cutter works for straight cuts on standard tile; a wet saw handles diagonal cuts and harder materials like porcelain
- Grout float - a rubber-faced tool for pressing and spreading grout into joints
- Unsanded or sanded grout - matched to your joint width
- Grout sealer - for cement-based grout only
- Sponges, buckets, and painter's tape
- Level and chalk line - your horizontal reference line is everything
For outlet and switch areas, purchase outlet extenders to bring electrical boxes flush with the new tile surface. Do not attempt to move or rewire outlets yourself - that work requires a licensed electrician and likely a permit.
Surface Prep: The Step Most Beginners Skip
Tile is only as secure as what it's bonded to. Drywall or painted surfaces need to be clean, dry, and firmly bonded before thinset goes anywhere near them. Wipe down the wall with a degreaser - kitchen walls accumulate grease and residue even when they look clean, and thinset will not grip an oily surface reliably.
Sand any glossy paint lightly with 80-grit sandpaper to give the mortar mechanical bite. Fill any gouges or holes with joint compound and let them dry completely. If existing drywall is soft, water-damaged, or crumbling, replace that section - tiling over compromised substrate is one of the most common causes of eventual tile failure.
Snap or draw a level horizontal line across the wall at your starting course height. This line - not the countertop edge, which is rarely perfectly level - is your anchor reference. The countertop gap at the bottom will be filled by your final cut row, caulked (not grouted) at the countertop joint. Before you begin our renovation prep checklist is worth reviewing to protect appliances and surfaces nearby.
Use a Laser Level for Your Reference Line
A self-leveling laser level makes snapping your horizontal reference line quick and accurate - especially around corners or windows. If you're borrowing tools or working on a tight budget, a standard 4-foot spirit level and pencil line work just as well. The critical thing is that the line be level, not that it matches the countertop edge.
Setting Tile: Mortar, Spacing, and Technique
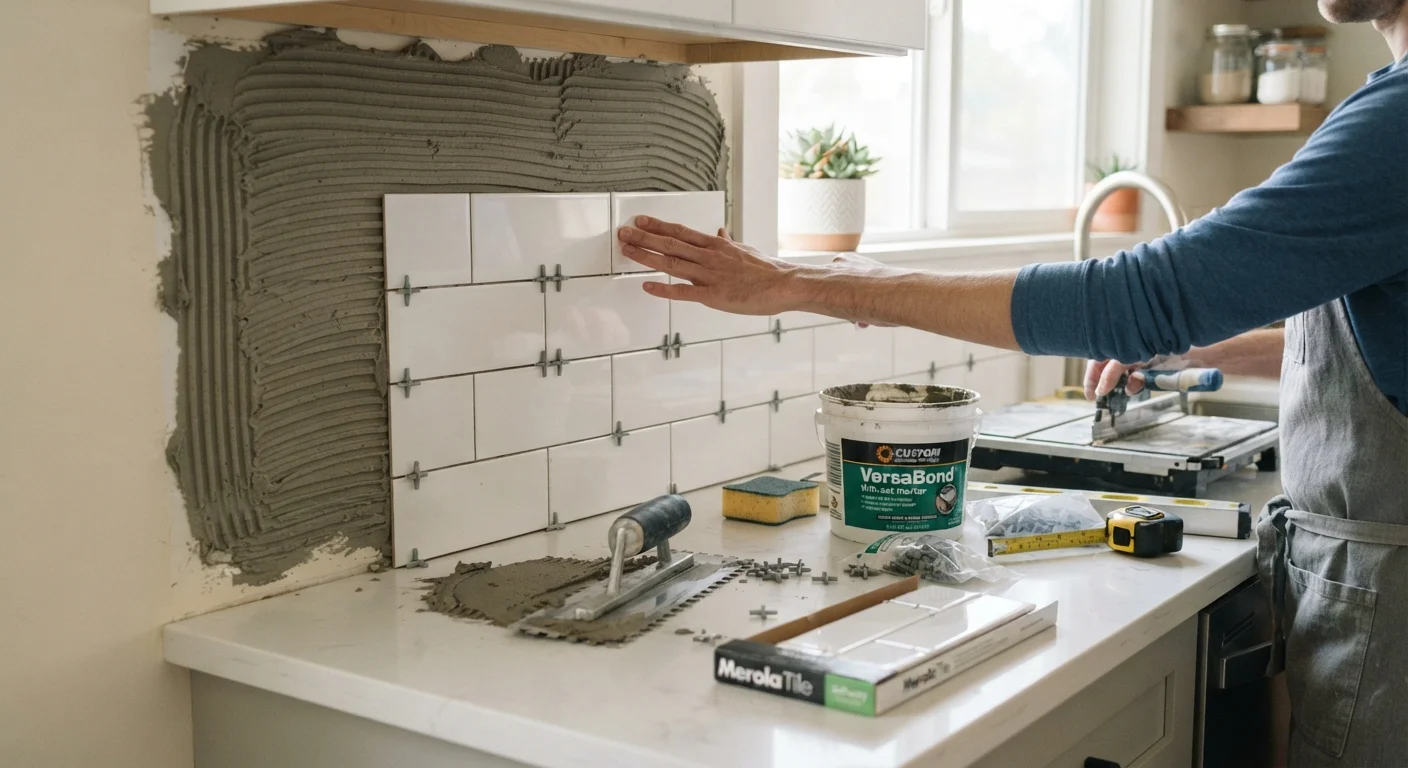
Mix thinset mortar to a peanut-butter consistency - thick enough to hold a ridge from the notched trowel without slumping. Work in small sections (roughly 2-3 square feet at a time) so the mortar doesn't skin over before your tiles are placed. Spread thinset on the wall with the flat side of the trowel first, then comb through with the notched side to create uniform ridges.
Press each tile firmly into the mortar with a slight twisting motion, then check it's seated flat with a grout float or straightedge. Insert tile spacers at each corner to maintain consistent joint width. Back-butter larger tiles (spread a thin coat of mortar on the tile back as well) to improve coverage and reduce voids behind the tile.
Work from your level reference line outward and upward. Cut tiles for edges, outlets, and corners as you reach them - measure twice, cut once. When all field tile is set, remove spacers before the mortar fully cures (usually within a few hours of placement). Let the full installation cure for at least 24 hours before grouting. Our first-year homeowner maintenance roadmap covers other timely upkeep tasks to pair with your renovation momentum.
Don't Grout Over Outlet Gaps Too Early
Tiling around electrical outlets requires care: turn off the circuit at the breaker before removing outlet covers, and reinstall covers only after grouting is complete and cured. Never work near live electrical boxes. If an outlet needs to be relocated to accommodate your tile layout, hire a licensed electrician - this is not a DIY step.
Grouting, Sealing, and Finishing Touches
Once the mortar has cured, mix grout to a smooth, lump-free consistency. Hold the grout float at a 45-degree angle and work the grout diagonally across the joints, pressing firmly to pack them fully. Remove excess grout from the tile surface with the float held at a steeper angle before it begins to harden.
After about 20-30 minutes (follow the grout manufacturer's timing), wipe down the tiles with a damp - not soaking - sponge in circular motions. Rinse the sponge frequently. A hazy film will remain on the tile surface; buff it away with a clean dry cloth once the grout has set further, typically after an hour. Avoid walking grout water into fresh joints.
At the countertop and cabinet junctions, do not use grout - use a flexible silicone caulk that matches your grout color. These transition points experience slight movement and thermal expansion; rigid grout will crack there over time. Once cement-based grout has cured 48-72 hours, apply a penetrating grout sealer with a small brush or applicator bottle, wiping away any excess from the tile face before it dries. Reapply annually in a kitchen where grease and splatter are constant. The finished result is one of the most satisfying upgrades a new homeowner can make - and a skill that transfers directly to bathroom remodel planning when you're ready for a bigger challenge.