Why the Weekend Before Matters
Most renovation headaches don't start when the work begins - they start because the prep didn't happen. A contractor arriving to a half-cleared room loses billable time moving your furniture. A DIYer who forgot to shut off the right circuit wastes a morning troubleshooting. The weekend before a renovation is your control window: the last chance to set conditions that make everything downstream faster, safer, and less stressful.
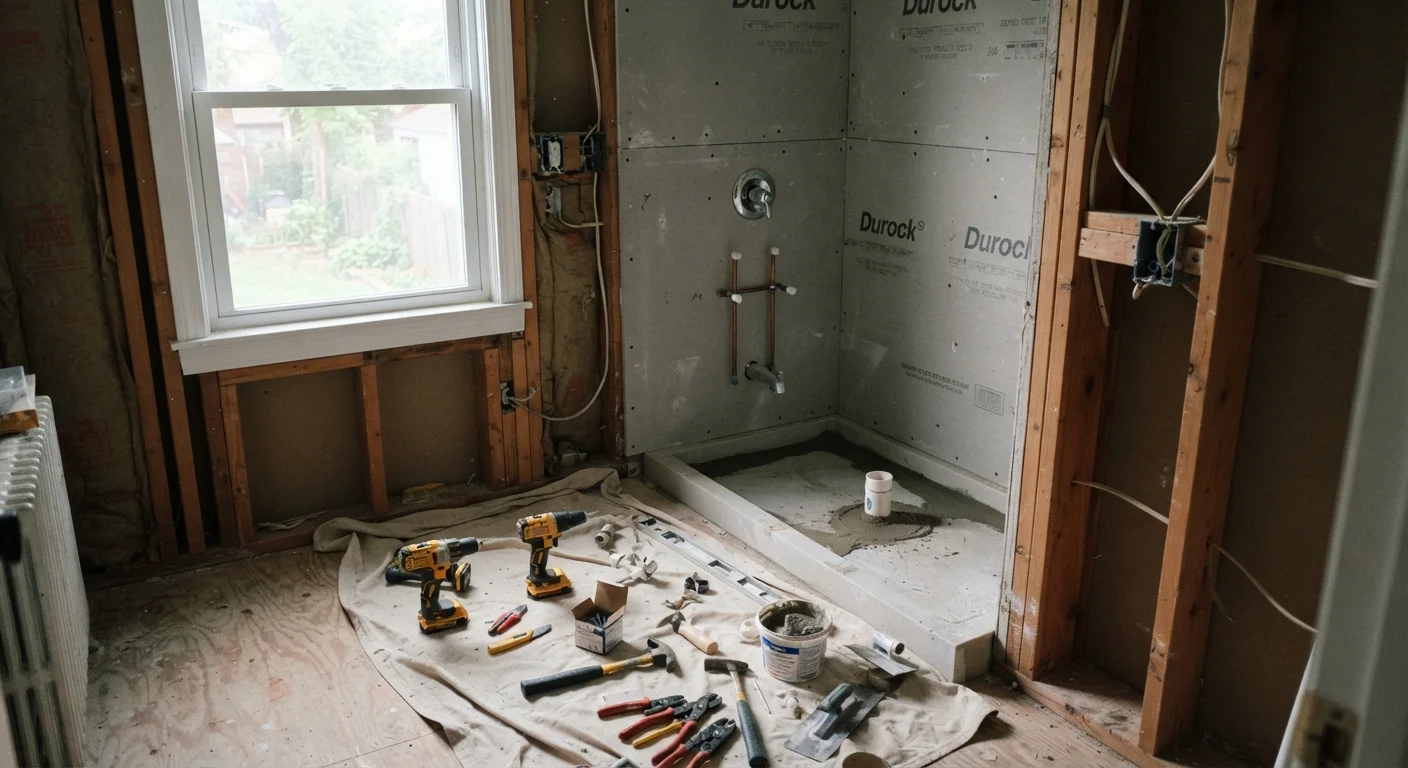
This checklist covers the full pre-renovation weekend, from protecting your belongings and sealing the space to staging your tools and confirming logistics. It applies whether you're managing a bathroom gut, a flooring replacement, or a kitchen refresh. If you're early in the planning phase, our bathroom remodel reality check covers how to sequence trades and set realistic expectations before prep even begins.
Clearing and Protecting Belongings
Dust and Debris Containment
Utility and Safety Checks
Tool and Supply Staging
Tools and Supplies You'll Need
Gather these before Saturday morning so you're not making hardware store runs mid-prep. Having everything on hand lets you move through the checklist in one efficient pass rather than stopping and starting.
Painter's tape and 2-mil plastic sheeting
Seals doorways and vents to contain construction dust within the work area.
Heavy-duty drop cloths
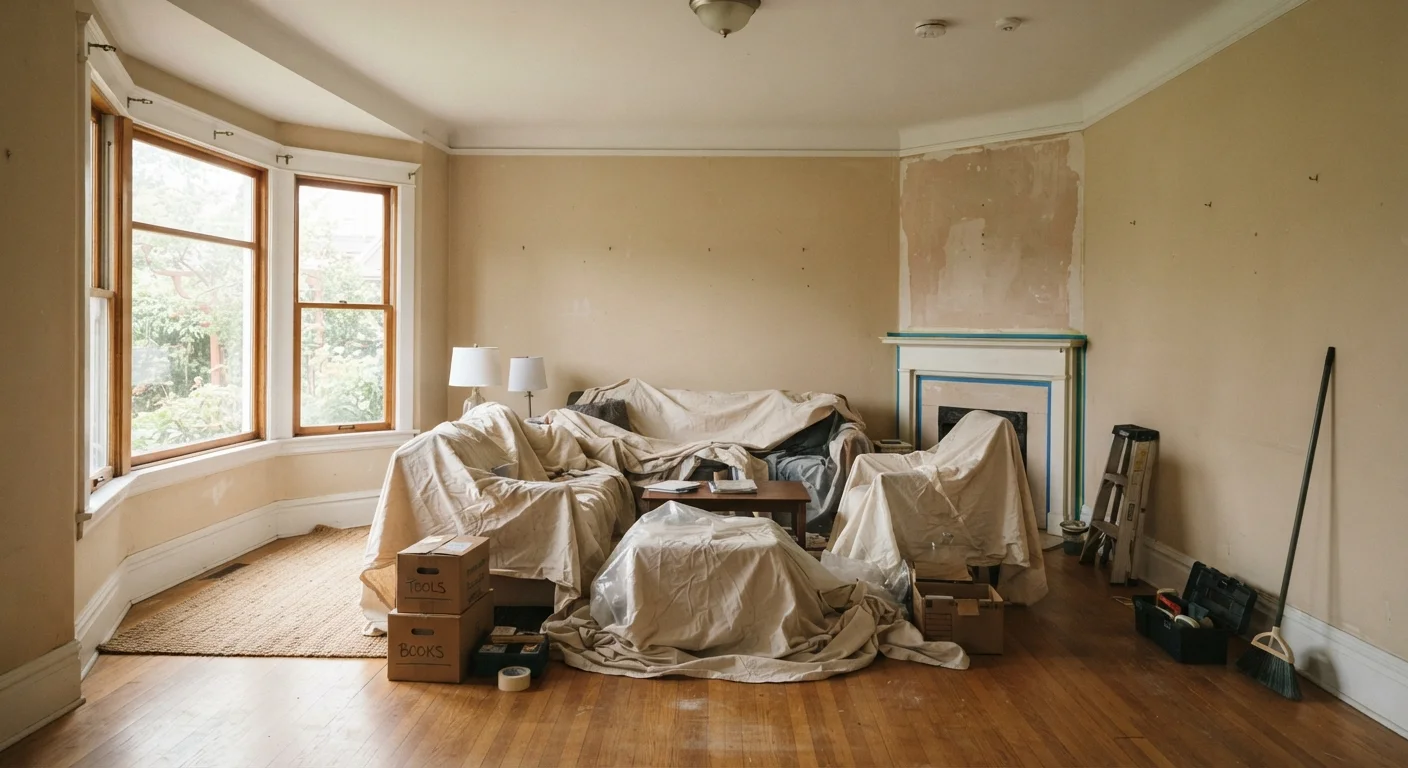
Protects finished floors and any furniture that cannot be fully removed from the room.
Non-contact voltage tester
Confirms circuits are safely de-energized before any work involving walls or electrical components begins.
Rosin paper or cardboard sheets
Protects hallway and adjacent room floors from foot traffic, tool scratches, and debris during the renovation.
Heavy-duty trash bags or debris bin
Keeps scrap material, packaging, and demolition debris contained and easy to remove.
LED work light or shop light
Provides consistent task lighting in a room where overhead fixtures may be removed or blocked.
Label maker or masking tape and marker
Labels moved boxes, furniture groupings, and stored hardware so reassembly is straightforward.
First-aid kit
Keeps basic wound care supplies accessible in the staging area throughout the renovation.
Setting Up a Safe, Efficient Work Zone
Once the room is clear, your job shifts from moving things out to configuring the space for the work ahead. Think about traffic flow: contractors and DIYers both need unobstructed paths from the entry point to the work area. Keep a clear lane at least 3 feet wide for carrying materials.
Dust Travels Much Further Than You Expect
Construction dust - especially from drywall, plaster, or sanding - is extremely fine and can migrate to rooms two or three doors away within a few hours. Sealing only the doorway of the work room is often not enough. Consider creating a double-barrier entry point using a second layer of plastic sheeting a few feet inside the door, creating an airlock effect that catches dust when workers enter and exit.
Dust containment is often underestimated. Fine drywall dust, for example, can migrate through an entire floor of a house within hours. Use painter's tape and plastic sheeting to seal doorways, cover HVAC return vents in the work area, and lay rosin paper or cardboard on any finished floors in the path between the exterior door and the work zone - not just inside the room itself.
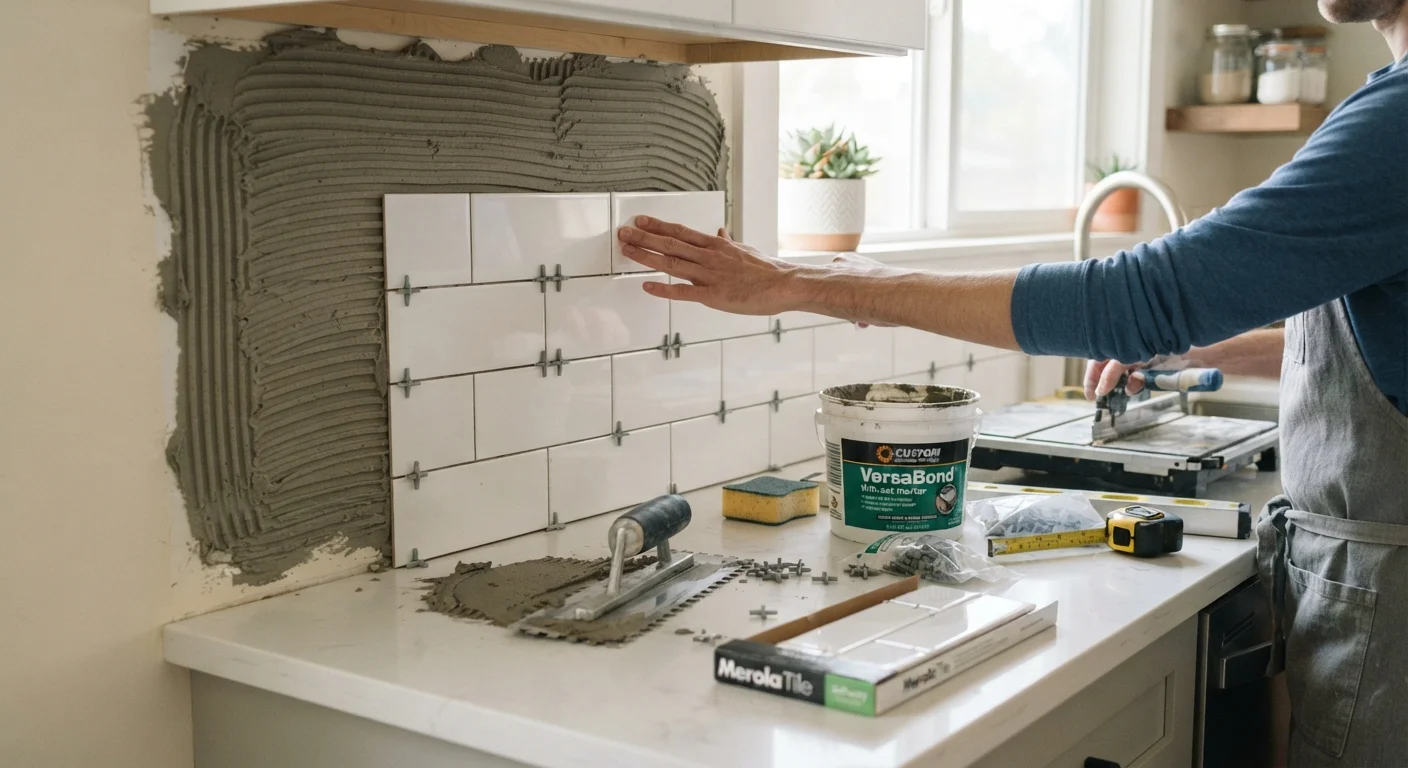
If your renovation involves any electrical, gas, plumbing-into-mains, or structural work, confirm with your local municipality whether permits are required before work starts. Licensed professionals for those scopes should be identified in advance, and their access needs should factor into how you stage the space. For a practical look at a first DIY tile project and the prep that makes it work, see our guide on kitchen backsplash tile installation.
Finally, think about where relocated items will live during the renovation. If furniture is going into another room, use this as an opportunity to assess what actually needs to come back. Our room-by-room home organization walkthrough offers strategies for every space that can help you make intentional decisions rather than just shuffling clutter from one room to another.
Electrical, Gas, and Structural Work Requires Licensed Professionals
No pre-renovation prep checklist substitutes for licensed trade work where it's required by law. In most US jurisdictions, work involving the electrical panel, gas lines, load-bearing structures, and plumbing connections to mains must be performed by a licensed contractor and may require a permit and inspection. Proceeding without the appropriate license or permit can void your homeowner's insurance, create liability issues if you sell, and pose serious safety risks. Always verify local requirements before any work begins.