What You Need to Know Before You Start
A U.S. passport is the most widely accepted travel document for American citizens abroad — and for many countries, it's required. If this is your first passport, the process is straightforward but involves in-person submission, multiple document types, and two separate fee payments. Understanding the structure up front prevents the most common mistakes.
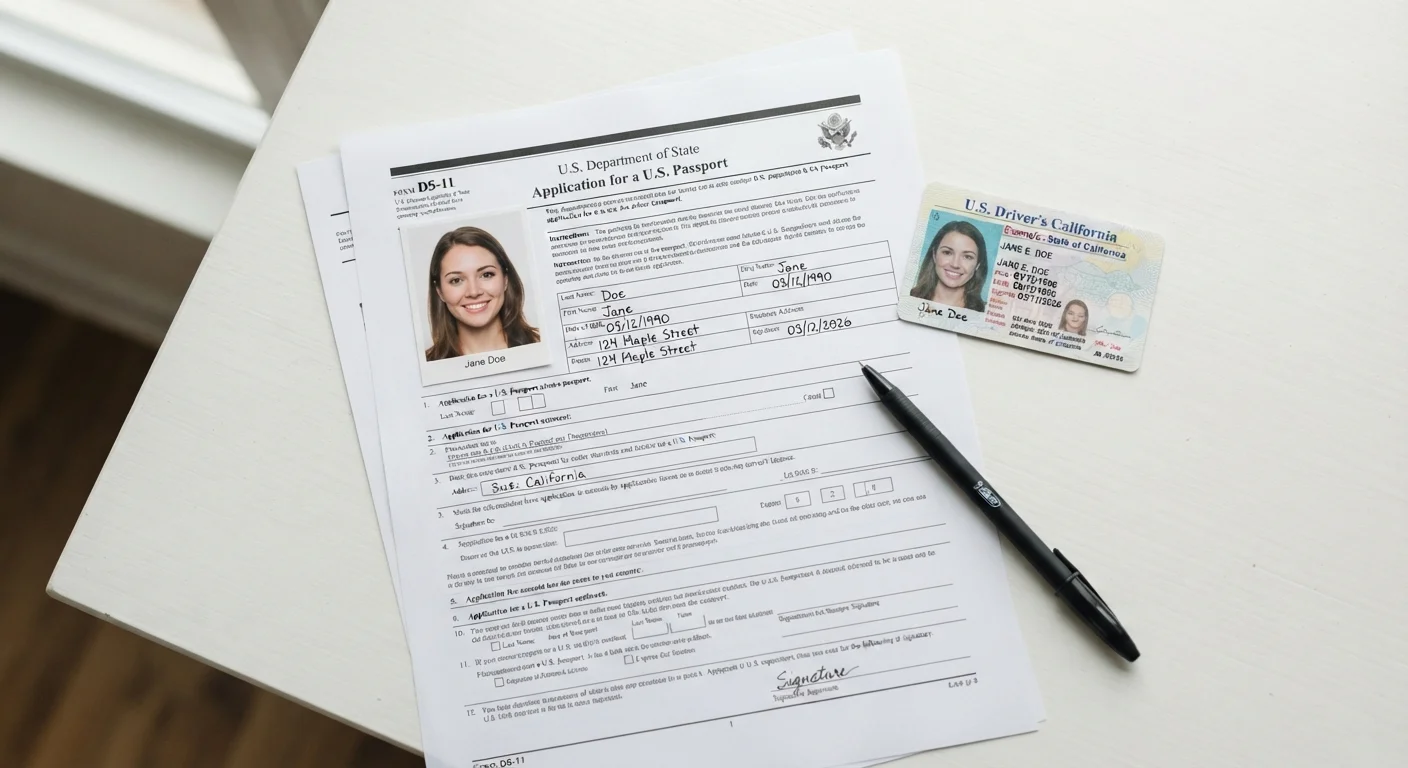
The application form for first-time adult applicants (age 16 and older) is Form DS-11. Unlike passport renewals, which can often be done by mail, DS-11 applications must be submitted in person at an authorized acceptance facility. Plan for the facility visit to take roughly 15–30 minutes once you have everything ready.
If you're already thinking beyond the passport itself, our guide to traveling internationally for the first time covers what comes next — from entry requirements to currency and health prep.
What you will need
What You'll Need
Having the right materials organized before your facility visit is the single most effective way to avoid delays. The State Department requires specific formats for photos, photocopies, and payment — small deviations can result in rejection.
Form DS-11
The official application form for a first-time U.S. passport; must be completed and submitted in person.
Proof of U.S. Citizenship
Establishes your eligibility — typically an original birth certificate with raised seal, or a naturalization certificate.
Government-Issued Photo ID
Verifies your identity at the time of submission; must be a valid, unexpired document.
Compliant Passport Photo
A 2×2-inch color photo meeting all State Department specifications, taken against a white background.
Personal check or money order
Required to pay the U.S. Department of State application fee; many facilities do not accept cash for this portion.
Do Not Sign Form DS-11 Early
Form DS-11 must be signed in the presence of an acceptance agent — not before. If you sign it at home, your application will be rejected and you'll need to start over. Leave the signature field blank until the agent instructs you to sign.
Once you've confirmed your documents and application are ready, our international trip document checklist can help you track everything else you'll need before departure.
Step-by-Step: Submitting Your Application
Follow these steps in order. Each one builds on the last, and skipping ahead — particularly signing the form early — is the most common reason first-time applications are turned away.
Download and Complete Form DS-11
Go to travel.state.gov and download the current version of Form DS-11. You can also fill it out online using the State Department's form-filler tool and then print it. Enter your full legal name exactly as it appears on your citizenship document — even a small discrepancy can cause delays.
Double-check every field, including your Social Security number, which is required. Leave the signature line blank — you must sign in front of an acceptance agent.
Gather Your Supporting Documents
Collect your original proof of U.S. citizenship and your valid government-issued photo ID. You'll also need a photocopy of the front and back of your ID on a single sheet of paper. Original documents are submitted with the application and will be returned to you by mail — typically within a few weeks of receiving your passport.
If your citizenship document shows a different name than your current legal name (for example, due to marriage), bring a certified copy of the legal name-change document as well.
Get a Compliant Passport Photo
Your photo must be 2×2 inches, in color, with a plain white or off-white background. Your face must be fully visible, centered, and taken within the last six months. Glasses are not permitted in U.S. passport photos.
Many pharmacies, shipping centers, and libraries offer passport photo services for a small fee. You can also take a photo at home and print it, provided it meets all technical specifications listed on travel.state.gov.
Locate and Visit an Acceptance Facility
First-time applicants cannot mail in their applications — you must appear in person at a passport acceptance facility. These include many U.S. post offices, public libraries, county clerk offices, and some federal courthouses.
[tip_callout]
Bring your completed (but unsigned) DS-11, all original documents and photocopies, your passport photo, and your payment. Some facilities accept walk-ins; others require an appointment.
Submit Your Application and Pay the Fees
At the facility, the acceptance agent will review your documents, witness your signature on Form DS-11, and collect your application. There are two separate fees:
- Execution fee: Paid to the acceptance facility (typically by cash or money order).
- Application fee: Paid to the U.S. Department of State (by check or money order made out to "U.S. Department of State").
Fee amounts are updated periodically — confirm current amounts at travel.state.gov before your visit. Keep any receipt or tracking information the agent provides.
Track Your Application
After submission, you can monitor your application status online at travel.state.gov using your last name, date of birth, and the last four digits of your Social Security number. You'll receive your original citizenship documents back separately from your passport, usually earlier in the process.
Standard processing takes several weeks; expedited processing is faster and carries an additional fee. Processing times change frequently — check the State Department site for current estimates rather than relying on any fixed timeframe.
Plan Around Processing Time
Passport processing times fluctuate and can extend significantly during peak travel seasons. Apply well in advance — ideally several months before your intended departure date. Expedited service shortens the wait but does not guarantee a specific delivery date. Always check current estimates at travel.state.gov.
After You Apply: What to Expect
Once your application is in the system, the State Department handles the rest. Your original citizenship document (such as your birth certificate) will be mailed back to you separately, typically before your passport arrives — hold onto it, as it's an important record to keep at home.
If your travel dates change or you need to expedite after already applying, contact the National Passport Information Center for guidance. For urgent international travel, passport agencies (distinct from acceptance facilities) handle appointments for travelers with imminent departures — see travel.state.gov for eligibility and scheduling.
It's also worth knowing what to do if something goes wrong later. Our article on what to do if you lose your passport while traveling walks through emergency steps if your passport is ever lost or stolen overseas. And if your situation ever changes — an expired passport or one that was damaged — our guide to renewing vs. replacing a U.S. passport explains which process applies.
This article is for general informational purposes only. Passport requirements, fees, and processing times are subject to change. Always verify current information directly with the U.S. Department of State at travel.state.gov before applying.