
Why This Process Matters — and What to Expect
Losing your passport abroad ranks among the most stressful travel experiences, but it is far from unresolvable. The U.S. government maintains a structured process specifically for this scenario, and American embassies and consulates worldwide handle emergency passport requests regularly. Understanding the process in advance — and preparing your documents accordingly — is the single most effective thing you can do before leaving home.
If you are traveling internationally for the first time, it is worth knowing that a lost passport does not have to derail your trip entirely. Emergency travel documents can often be issued within one to three business days, depending on the country and the embassy's current workload. That timeline may feel tight, but it is workable if you act quickly and arrive at the embassy with complete documentation.
The steps below reflect the standard process described by the U.S. State Department. Specific requirements and timelines can vary by location, so always verify current procedures directly with the embassy or consulate in the country where you are traveling.
What you will need
What You'll Need to Get Started
Having the right tools and information at hand will make every subsequent step faster and less stressful. Review the resources below before proceeding.
U.S. State Department website (travel.state.gov)
Official source for locating embassies, downloading DS-11 forms, and verifying current emergency passport procedures.
Smart Traveler Enrollment Program (STEP)
Free government service that registers your trip with the local U.S. embassy and provides emergency contact support.
Passport photo service
Required to produce compliant passport-style photos for the emergency document application.
Travel insurance policy documents
Needed to initiate a claim for reimbursement of emergency passport fees and related costs.
Digital document backup (email or cloud storage)
Stored scans of your passport data page and other IDs serve as proof of identity at the embassy.
Store Backups Before You Leave Home
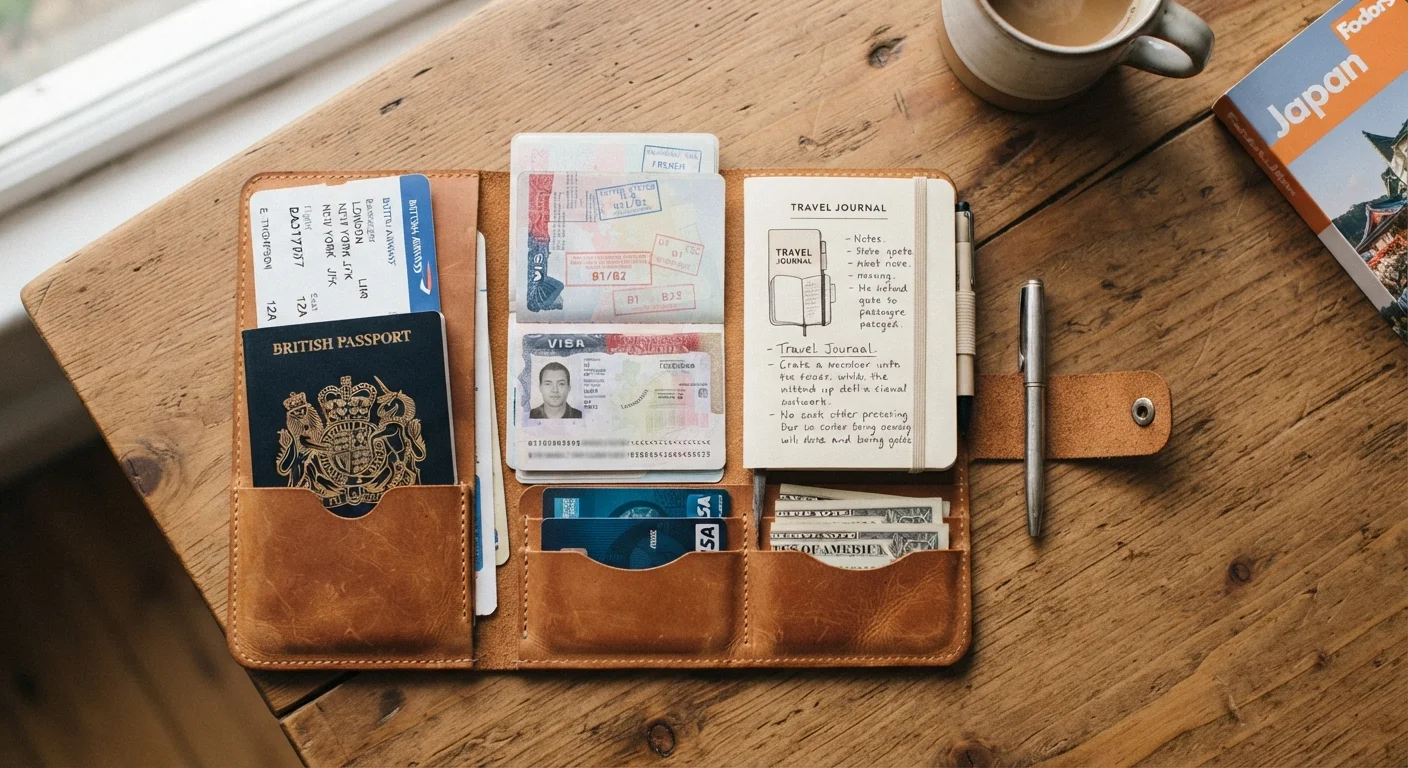
Email yourself scans of your passport data page, visa, and travel itinerary before departing. A digital copy accessible from any device can dramatically shorten the verification process at the embassy. See our guide to organizing travel documents for a practical system.
Step-by-Step: How to Replace a Lost Passport Abroad
Follow these steps in order. Do not skip the police report stage even if you believe the passport was simply misplaced — having that documentation protects you throughout the process.
Report Theft to Police First
If your passport was stolen rather than misplaced, file a police report before contacting the embassy. Many embassies require a copy of that report to process an emergency replacement. Keep the original or a certified copy — you may need it for travel insurance claims as well.
Conduct a thorough search
Before escalating, retrace your steps systematically. Check hotel room safes, bag pockets, and any venue you visited recently. Contact the hotel front desk, local transportation services, or restaurants — lost-and-found returns are more common than travelers expect. Allow yourself 30–60 minutes for this step before concluding the passport is genuinely gone.
File a local police report
If the passport appears to have been stolen, or if you cannot locate it after a thorough search, go to the nearest police station and file a report. Request a written copy of the report — this document is required by most U.S. embassies to process a replacement and may be necessary for a travel insurance claim.
Contact the nearest U.S. embassy or consulate
Locate the nearest U.S. embassy or consulate using the U.S. State Department's official website (travel.state.gov) or the Smart Traveler Enrollment Program (STEP) app. Call the embassy's American Citizen Services line — most embassies maintain a 24-hour emergency line for exactly this situation. Explain that your passport is lost or stolen and ask about their current process for emergency travel documents.
Gather required documentation
The embassy will typically require the following to issue an emergency passport:
- Completed DS-11 application form (available on the State Department website or at the embassy)
- Proof of U.S. citizenship — a photocopy of your lost passport, a birth certificate, or a naturalization certificate
- Government-issued photo ID, such as a driver's license
- One or two recent passport-style photos (many cities have photo kiosks or pharmacies that provide these)
- A copy of the police report, if theft was involved
- Evidence of imminent travel, such as a flight itinerary
Attend your embassy appointment
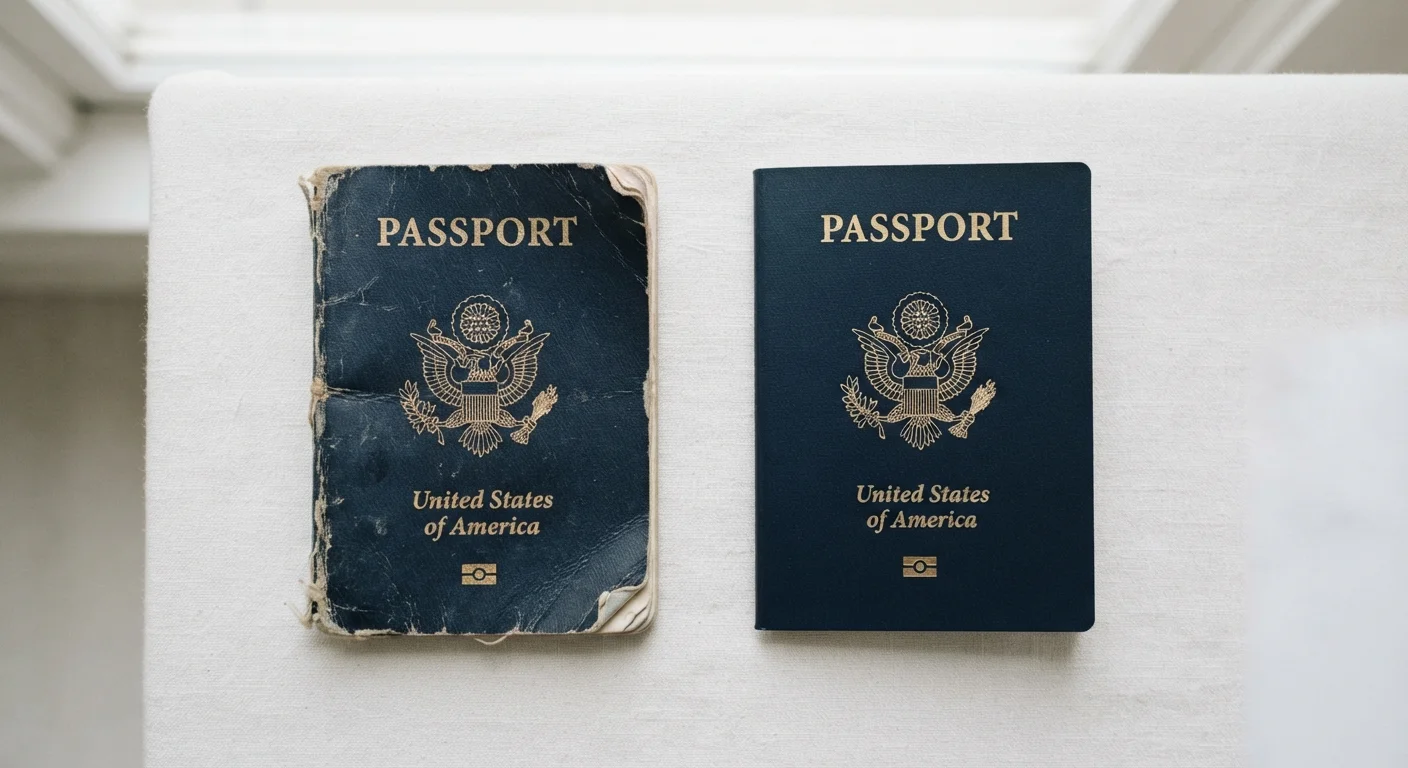
Arrive at the embassy with all required documents and payment for the applicable fees. Emergency passport processing typically costs more than a standard renewal. An emergency passport is usually valid for a limited period — often one year — and is intended to get you home, not to serve as a long-term travel document. Once back in the United States, you can apply for a full-validity replacement.
Notify your airline and travel insurance provider
Contact your airline to explain the situation — most carriers will work with passengers who present a valid embassy-issued travel document. If you have travel insurance, notify your provider promptly, as many policies cover costs associated with lost travel documents, including emergency passport fees and any necessary flight changes. Keep all receipts related to the incident.
After You Return: Replacing Your Emergency Passport
An emergency passport is a temporary document, typically valid for one year or less. Once you are back in the United States, you will need to apply for a full-validity replacement through the standard passport application process. Review our article on renewing vs. replacing a U.S. passport to understand which application route applies to your situation.
Going forward, the best protection against a repeat experience is a stronger document system before you travel. Our international trip document checklist covers every item worth copying and backing up before departure. Travelers who maintain digital and physical copies of their passport data page consistently report faster embassy resolutions when documents go missing.
Also check that your replacement passport meets the validity requirements of any future destinations — many countries require six months of remaining validity beyond your travel dates. Our guide on passport validity rules explains which requirements apply and how to check them before booking.
This article provides general travel information only. Entry requirements, embassy procedures, and government policies can change. Always verify current information with official U.S. government sources and the relevant embassy before traveling.